Friday, December 5, 2014

Japanese Stab Binding

I could have purchased a year pocket calendar for as low as $4 or so, but why do that when I'm capable of making my own? On to Pinterest and Google to look up bookbinding for the next great craft adventure. One website I found most informative and inspirational is Becca Making Faces, where the following two photos were taken from.

From the many different methods of binding books, what caught my eye was the beautiful and fairly simple method of Japanese stab binding. A basic bind would entail four holes, four wraps around the spine, and a wrap around each edge.

During the actual process of sewing the binding, the main objective is to sew the entire bind without ever repeating the same line, or not having two threads between the same two holes. 

-Binding method decided on. Check.
-Creation of monthly calendars in Powerpoint created/printed while watching the Brady Bunch on TV. Check. 
-On to the creation of the calendar covers!

Materials used: Cardboard from a cereal box, a page from my well-loved/retired Rand McNally road map, a sheet of white paper, scissors and glue.

In a blog by Carly and Kris, step by step instructions are provided to create a hand bound book. I thought it was interesting that the cover board is cut into a main section and a thinner spine section. This way the book can open and lay flat (while this seems obvious, if I hadn't read this bit, I was about to just cover my large square of cardboard whole!) 
This photo is from the blog post by Kris, I was too excited to take a photo of my materials!
With the cover assembled, I took to the basement and with a drill and a 1/16th inch bit, made a line of holes for the binding. Then, with a length of embroidery floss, I sewed the simple pattern and 5 minutes later, voila! I'm ready to be organized for the upcoming year!


I stuck to the simple/basic pattern as the spine of my calendar was too small for anything else. Next  year I'll be sure to make a spine of 1" or more so I can try out a more intricate design. If you haven't yet, again check out this page at Becca Making Faces and scroll down to see the creative designs she has created!


Sunday, April 13, 2014

A weekend for the birds! (Part 1)


The list of things to start/finish is immense, but sometimes life gives you a wonderful surprise and you just have to set the list aside, and enjoy the gift. On the afternoon of Friday, March 28, I was sitting at the kitchen table with friends Becca and Jill, when Jill shouted for us to look out the window “Hawk! Owl! Squirrel! No owl! Look!”


Sure enough, a Northern Saw-whet Owl (Aegolius acadicus) was perched on a branch, a mere 10 feet from the dining room window. Here in northern Minnesota there are found year round, but as they are A) nocturnal  B) small (7-8” tall)  C) have feathers that aid with camouflage, they can be difficult to see. Thus, this saw-whet was a lifer for me. (Lifer: (noun) A bird when it is first seen and positively identified by a birder).

Now I have already seen wild Saw-whet owls up at Hawk Ridge in Duluth during their fall owl banding. I volunteered during the daytime at the Ridge, and was also able to help with their night owl program, which provided the opportunity for the following photo! (Fall 2012)


I digress. I did not count the Hawk Ridge Saw-whet as a lifer, as it was caught in a net (versus being seen naturally in the wild). So this Saw-whet out our back window was a big deal! From roughly 4:30 to 8:00 pm (when it decided to fly off), this owl was the focus our attention. We saw it poop several (3) times, and also cough up a pellet (which I later went out and retrieved – a future blog post of its own). Our graduate friend Clinton came over (a hardcore birder) and this owl was also a lifer for him!

The Saw-whet for the most part remained motionless. At times it would turn its head to look at the squirrels that were scampering around in the tree. A few times the owl changed which foot it was perching on (the other drawn up into the body of feathers to help stay warm). Most of my experience birding in Minnesota has been in the winter, when you are generally standing outside in below freezing temperatures. I regret never spending too much time hanging around watching a particular bird. This evening however was perfect:


Saturday, April 5, 2014

Snow day bread baking

Looking at the online weather report Thursday night (April 3), it was certain that the snow would continue, and looking out the window, the storm seemed to be living up to the predicted 8-10” of snow. Waking up Friday morning, the snowpocalypse was still continuing outside. I woke up early in anticipation of having to catch the bus and go to work, but a call from my supervisor allowed me to keep the PJs on, and head on into the kitchen.

My ideal snow day activity? Baking. More specifically today it was baking Julia Child’s White Sandwich Bread with a recipe from the “Dinner with Julie” blog.


1/2 cup warm water, 1 Tbsp. yeast, 1 Tbsp. sugar = a foaming success! 


The dough getting ready to rise

 Some 2 hours later…


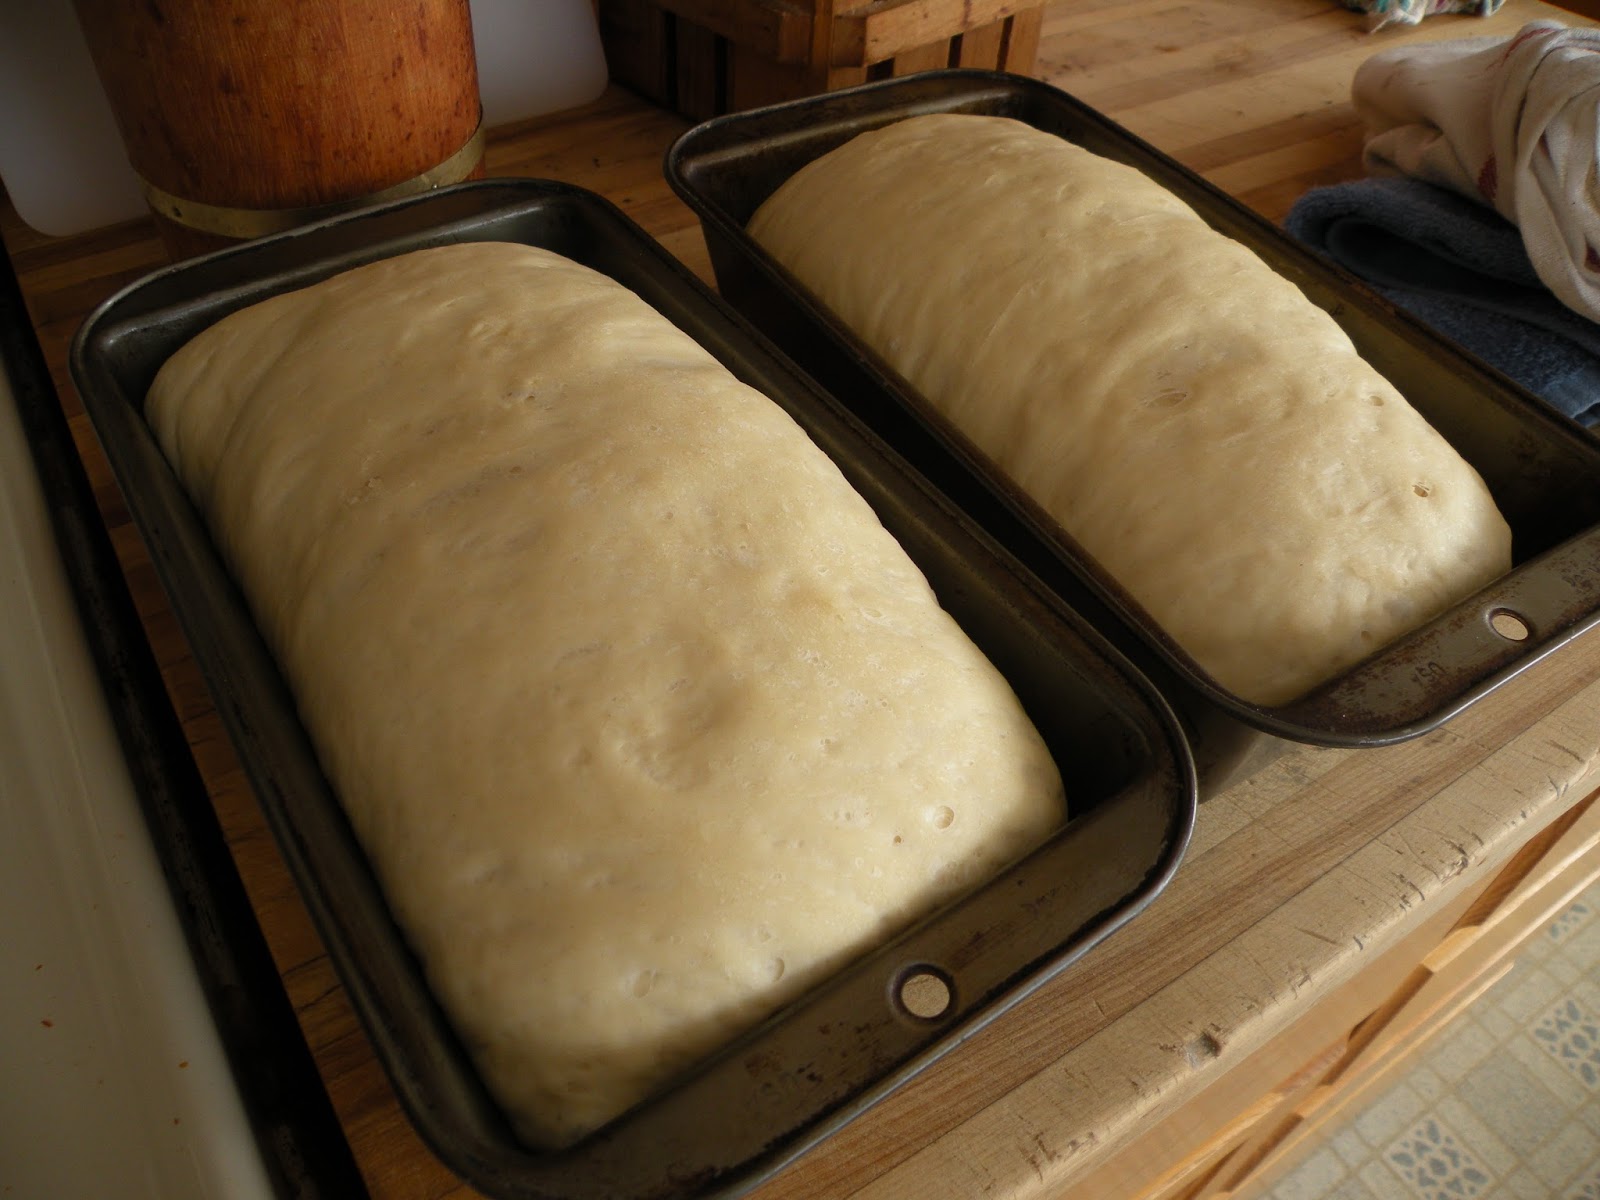
After punching the dough down, I split it into two and flattened the pieces into sheets, folded them into thirds, and laid them seam down in the buttered bread tins.  Time to rise once more!

    Before  & After 

The smells involved with baking bread take me back to my Grandmother's kitchen. I remember readying the yeast in the glass measuring cup, balancing the cup on the edge of the red counter next to the sink, where there wasn't quite enough space but that's where my Grandma put it, so, balance. I remember licking the sticky dough off my hands before washing them, just after kneading the dough for the first time. I also remember the time we shaped the dough into a teddy bear. And of course, the smell when the bread comes out of the oven… a time machine to the past.


By the time the bread was finished and a slice of bread (or two) with butter was had, the sun was shining, the wind slowed, and the resulting 9.4"of snow was waiting outside to be shoveled. Happy Spring!